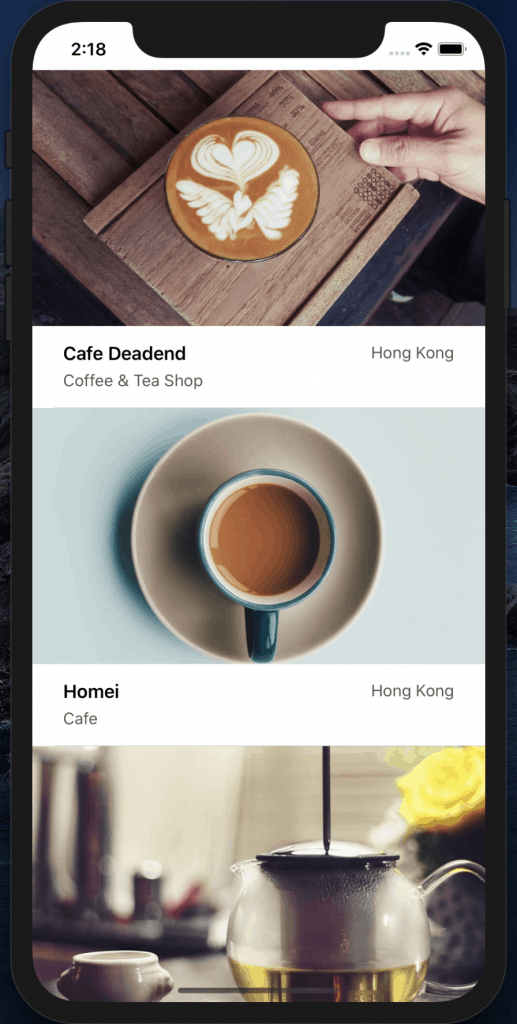
从 iOS 11 开始,iOS 导入了两个新方法来处理表格视图 Cell 中的滑动动作:
tableView(:leadingSwipeActionsConfigurationForRowAt:)
tableView(:trailingSwipeActionsConfigurationForRowAt:)
这两个方法是被定义在 UITableViewDelegate。第一个方法是处理 “向右滑动” 动作,而第二个是负责 “向左滑动” 动作。下面的案例是
let deleteAction = UIContextualAction(style: .destructive, title: "删除") { (action, sourceView, completionHandler) in

            self.restaurantNames.remove(at:indexPath.row)
                    self.restaurantLocations.remove(at: indexPath.row)
                    self.restaurantTypes.remove(at: indexPath.row)
                    self.restaurantIsVisited.remove(at: indexPath.row)
                    self.restaurantImgs.remove(at: indexPath.row)

                    self.tableView.deleteRows(at: [indexPath], with: .fade)

                    completionHandler(true)
                    //成功完成动作后,需要解除动作按钮

        }

        let shareAction = UIContextualAction(style: .normal, title: "分享") { (action, sourceView, completionHandler) in

            let defaultText = "去预定" + self.restaurantNames[indexPath.row]
            let activityController = UIActivityViewController(activityItems: [defaultText], applicationActivities: nil)

            self.present(activityController, animated: true, completion: nil)

            completionHandler(true)
            //成功完成动作后,需要解除动作按钮

        }
动作设计好后,可以用 UIContextualAction 继续设计它的样式,可以改变它的背景和图标。
UIKit 框架使用一个 UIColor 类别来显示颜色。许多在 UIKit 的方法,要求你使用 UIColor 物件来提供颜色资料。这个类别有内置几个标准颜色,像是 UIColor.blue 与 UIColor.red。如果要使用自己的颜色,可以使用 RGB 分量值来创建 UIColor 物件。这个色彩分量值是落在 0 与 1 之间。RGB 值通常是在 0 至 255 的范围内。为了遵循 UIColor 的要求,在创建 UIColor 物件时,必须要将每一个分量值除以 255。
        deleteAction.backgroundColor = UIColor(red: 231.0/255.0, green: 76.0/255.0, blue: 60.0/255.0, alpha: 1.0)
        deleteAction.image = UIImage(named: "delete")

        shareAction.backgroundColor = UIColor(red: 254.0/255.0, green: 149.0/255.0, blue: 38.0/255.0, alpha: 1.0)
        shareAction.image = UIImage(named: "share")
        //自定义删除与分享图标,并手动设置颜色。
        //需在 swipeConfiguration 实例化之前进行设置
这个样式需要在 trailingSwipeActionsConfigurationForRowAt 方法中,swipeConfiguration 实例化之前插入才能生效。
完整的左滑功能实现如下
    override func tableView(_ tableView: UITableView, trailingSwipeActionsConfigurationForRowAt indexPath: IndexPath) -> UISwipeActionsConfiguration? {

        let deleteAction = UIContextualAction(style: .destructive, title: "删除") { (action, sourceView, completionHandler) in

            self.restaurantNames.remove(at:indexPath.row)
                    self.restaurantLocations.remove(at: indexPath.row)
                    self.restaurantTypes.remove(at: indexPath.row)
                    self.restaurantIsVisited.remove(at: indexPath.row)
                    self.restaurantImgs.remove(at: indexPath.row)

                    self.tableView.deleteRows(at: [indexPath], with: .fade)

                    completionHandler(true)
                    //成功完成动作后,需要解除动作按钮

        }

        let shareAction = UIContextualAction(style: .normal, title: "分享") { (action, sourceView, completionHandler) in

            let defaultText = "去预定" + self.restaurantNames[indexPath.row]
            let activityController = UIActivityViewController(activityItems: [defaultText], applicationActivities: nil)

            self.present(activityController, animated: true, completion: nil)

            completionHandler(true)
            //成功完成动作后,需要解除动作按钮

        }

        deleteAction.backgroundColor = UIColor(red: 231.0/255.0, green: 76.0/255.0, blue: 60.0/255.0, alpha: 1.0)
        deleteAction.image = UIImage(named: "delete")

        shareAction.backgroundColor = UIColor(red: 254.0/255.0, green: 149.0/255.0, blue: 38.0/255.0, alpha: 1.0)
        shareAction.image = UIImage(named: "share")
        //自定义删除与分享图标,并手动设置颜色。
        //需在 swipeConfiguration 实例化之前进行设置


        let swipeConfiguration = UISwipeActionsConfiguration(actions: [deleteAction, shareAction])
        //创建 UIContextualAction 物件的阵列,包括了两个动作, deleteAction 与 shareAction

        return swipeConfiguration
        //回传 UIContextualAction 物体阵列,告知表格视图在使用者向左滑过 Cell 时创建按钮。
    }
    //左滑功能重做,并实现分享功能


